Getting Started
One thing to remember: Talk to your agent like you'd talk to a smart colleague. Same tone, same expectations. The AI serves your judgment—you're the expert.
MorphMind is where you create, customize, and run AI agents, letting researchers build workflow-connected agents without engineering a full AI toolchain.
Ready to get started? Here's how.
Step 1: Access MorphMind & Create Your First Project
Go to MorphMind and sign in with your account. You'll land on the Create New Project, ready to start building.
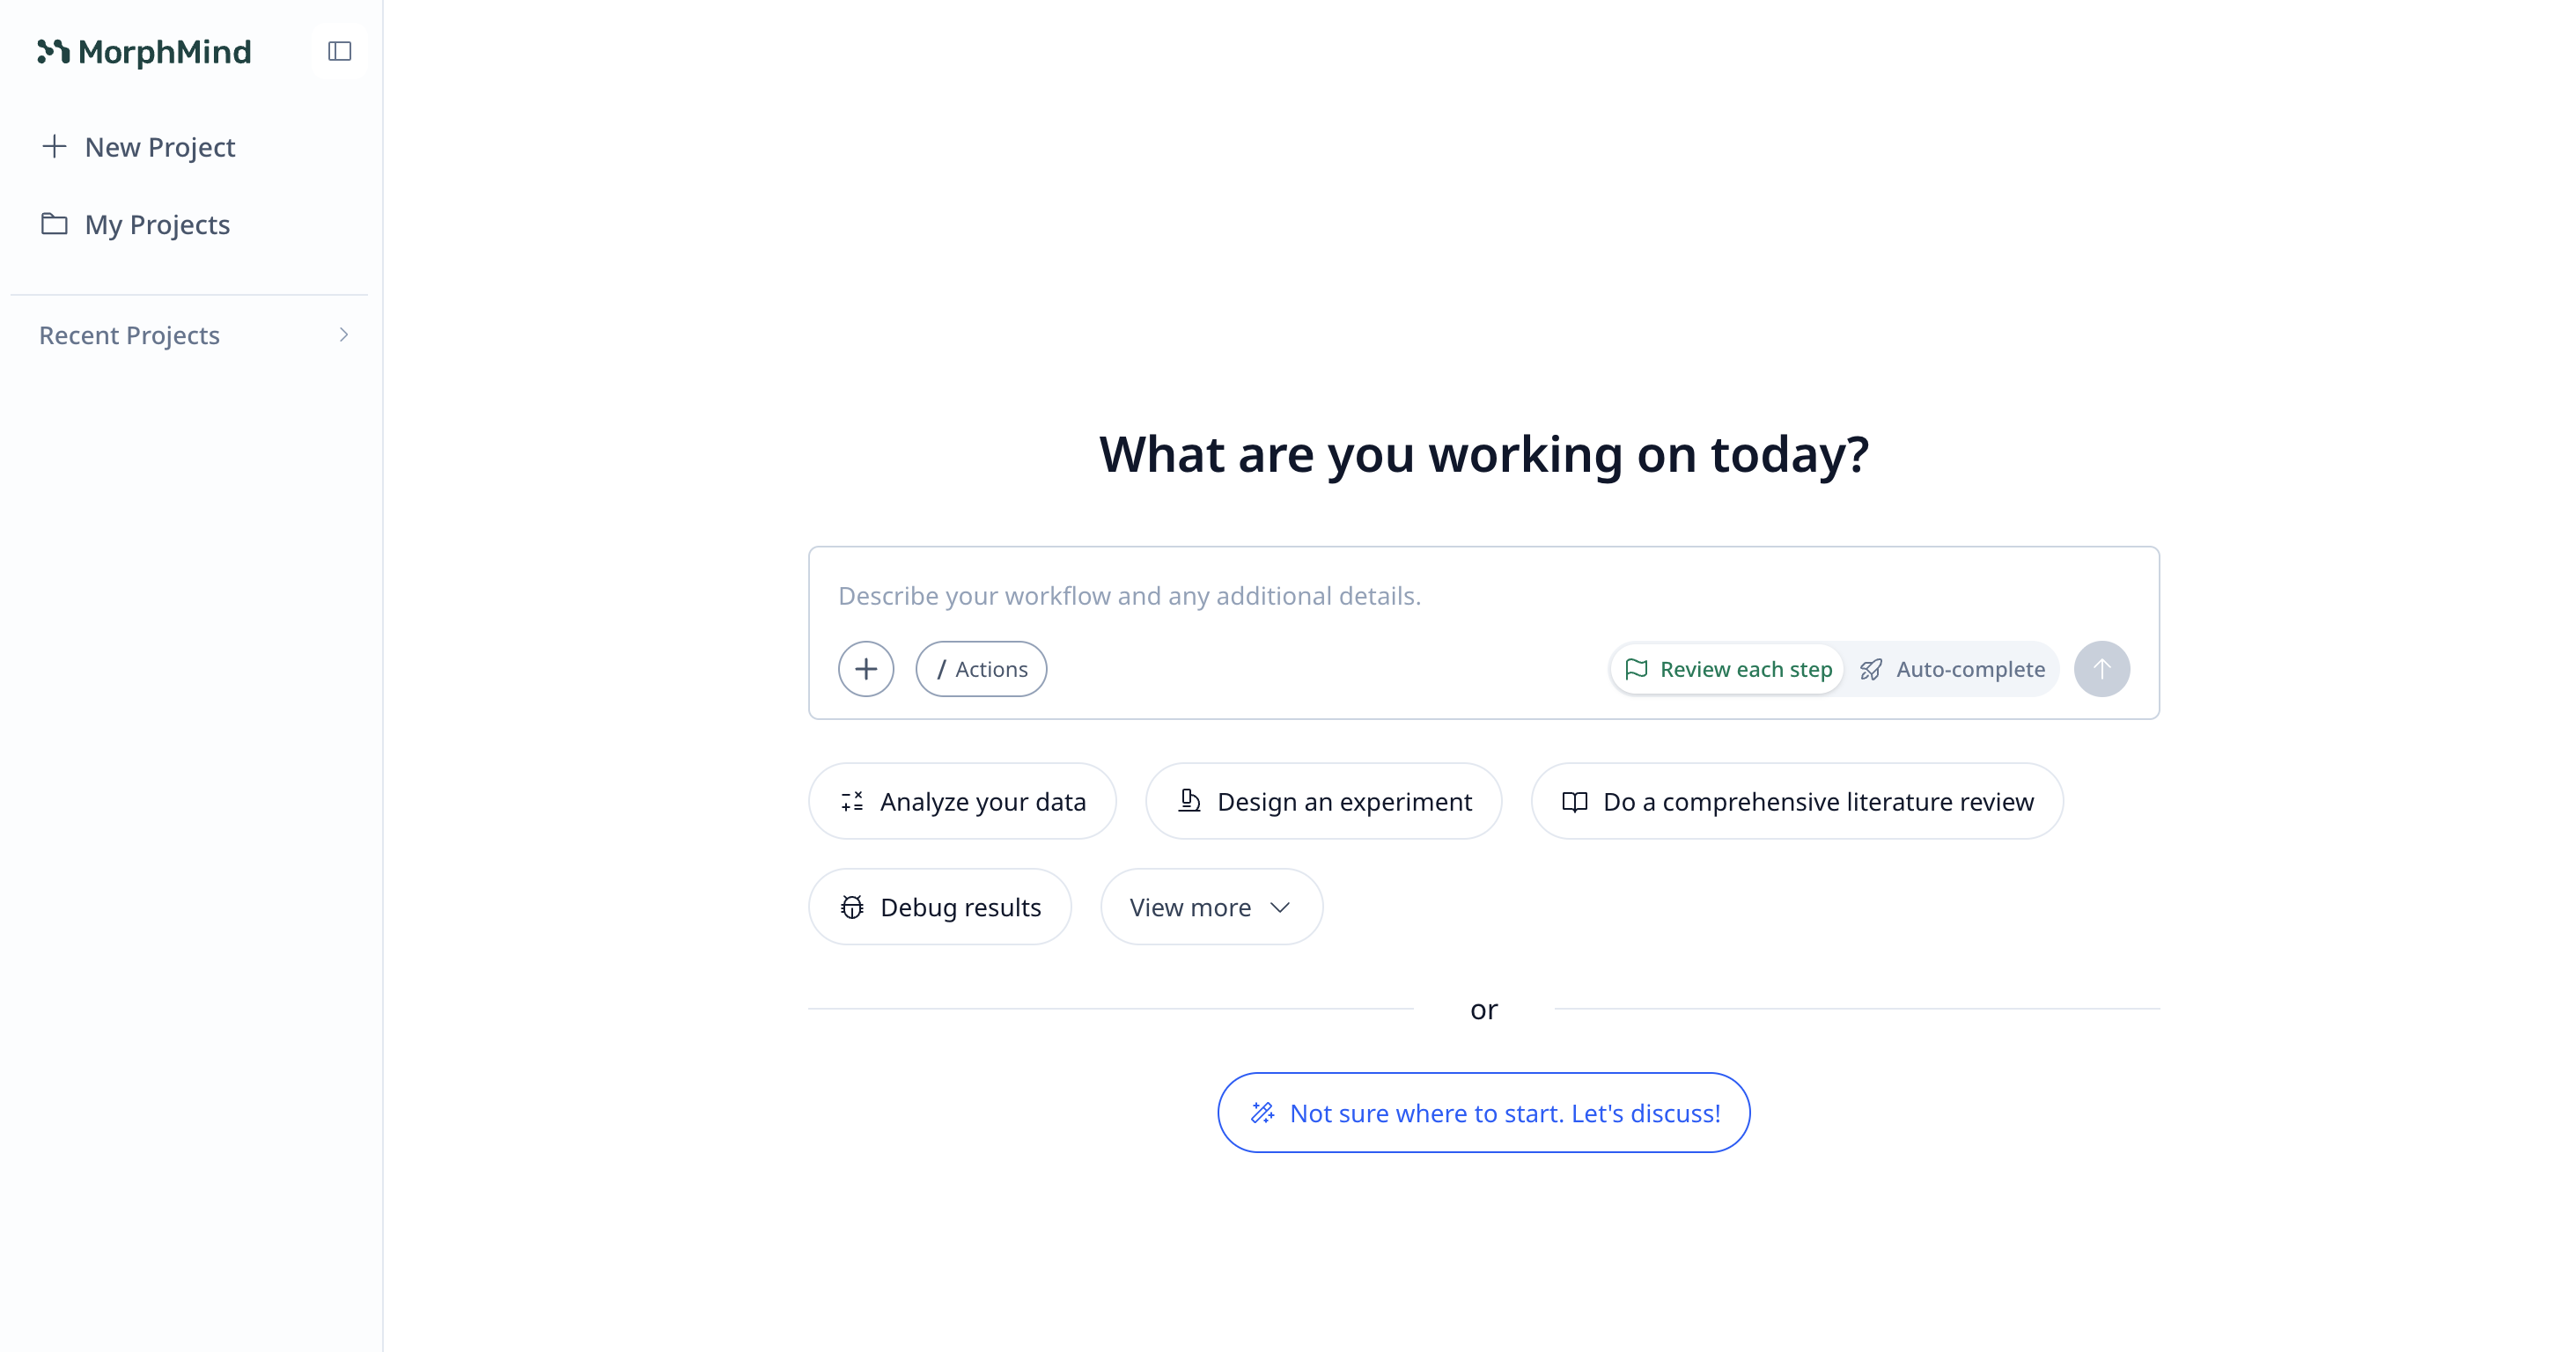
You'll be asked to describe what problem the agent should solve. Just write in plain language—no coding required.
For example:
- "Build me an agent that pulls data from PubMed and my lab's internal notes, cross-references findings, and generates a weekly literature digest with citations"
- "Create an investment analyst that fetches real-time market data, runs fundamental and technical analysis, and produces a stock report with risk scores"
- "I need an onboarding assistant that knows our lab protocols, answers new student questions, and remembers what each person has already learned"
Step 2: Work on Your Project
Once created, you'll see the main project interface with three key areas:
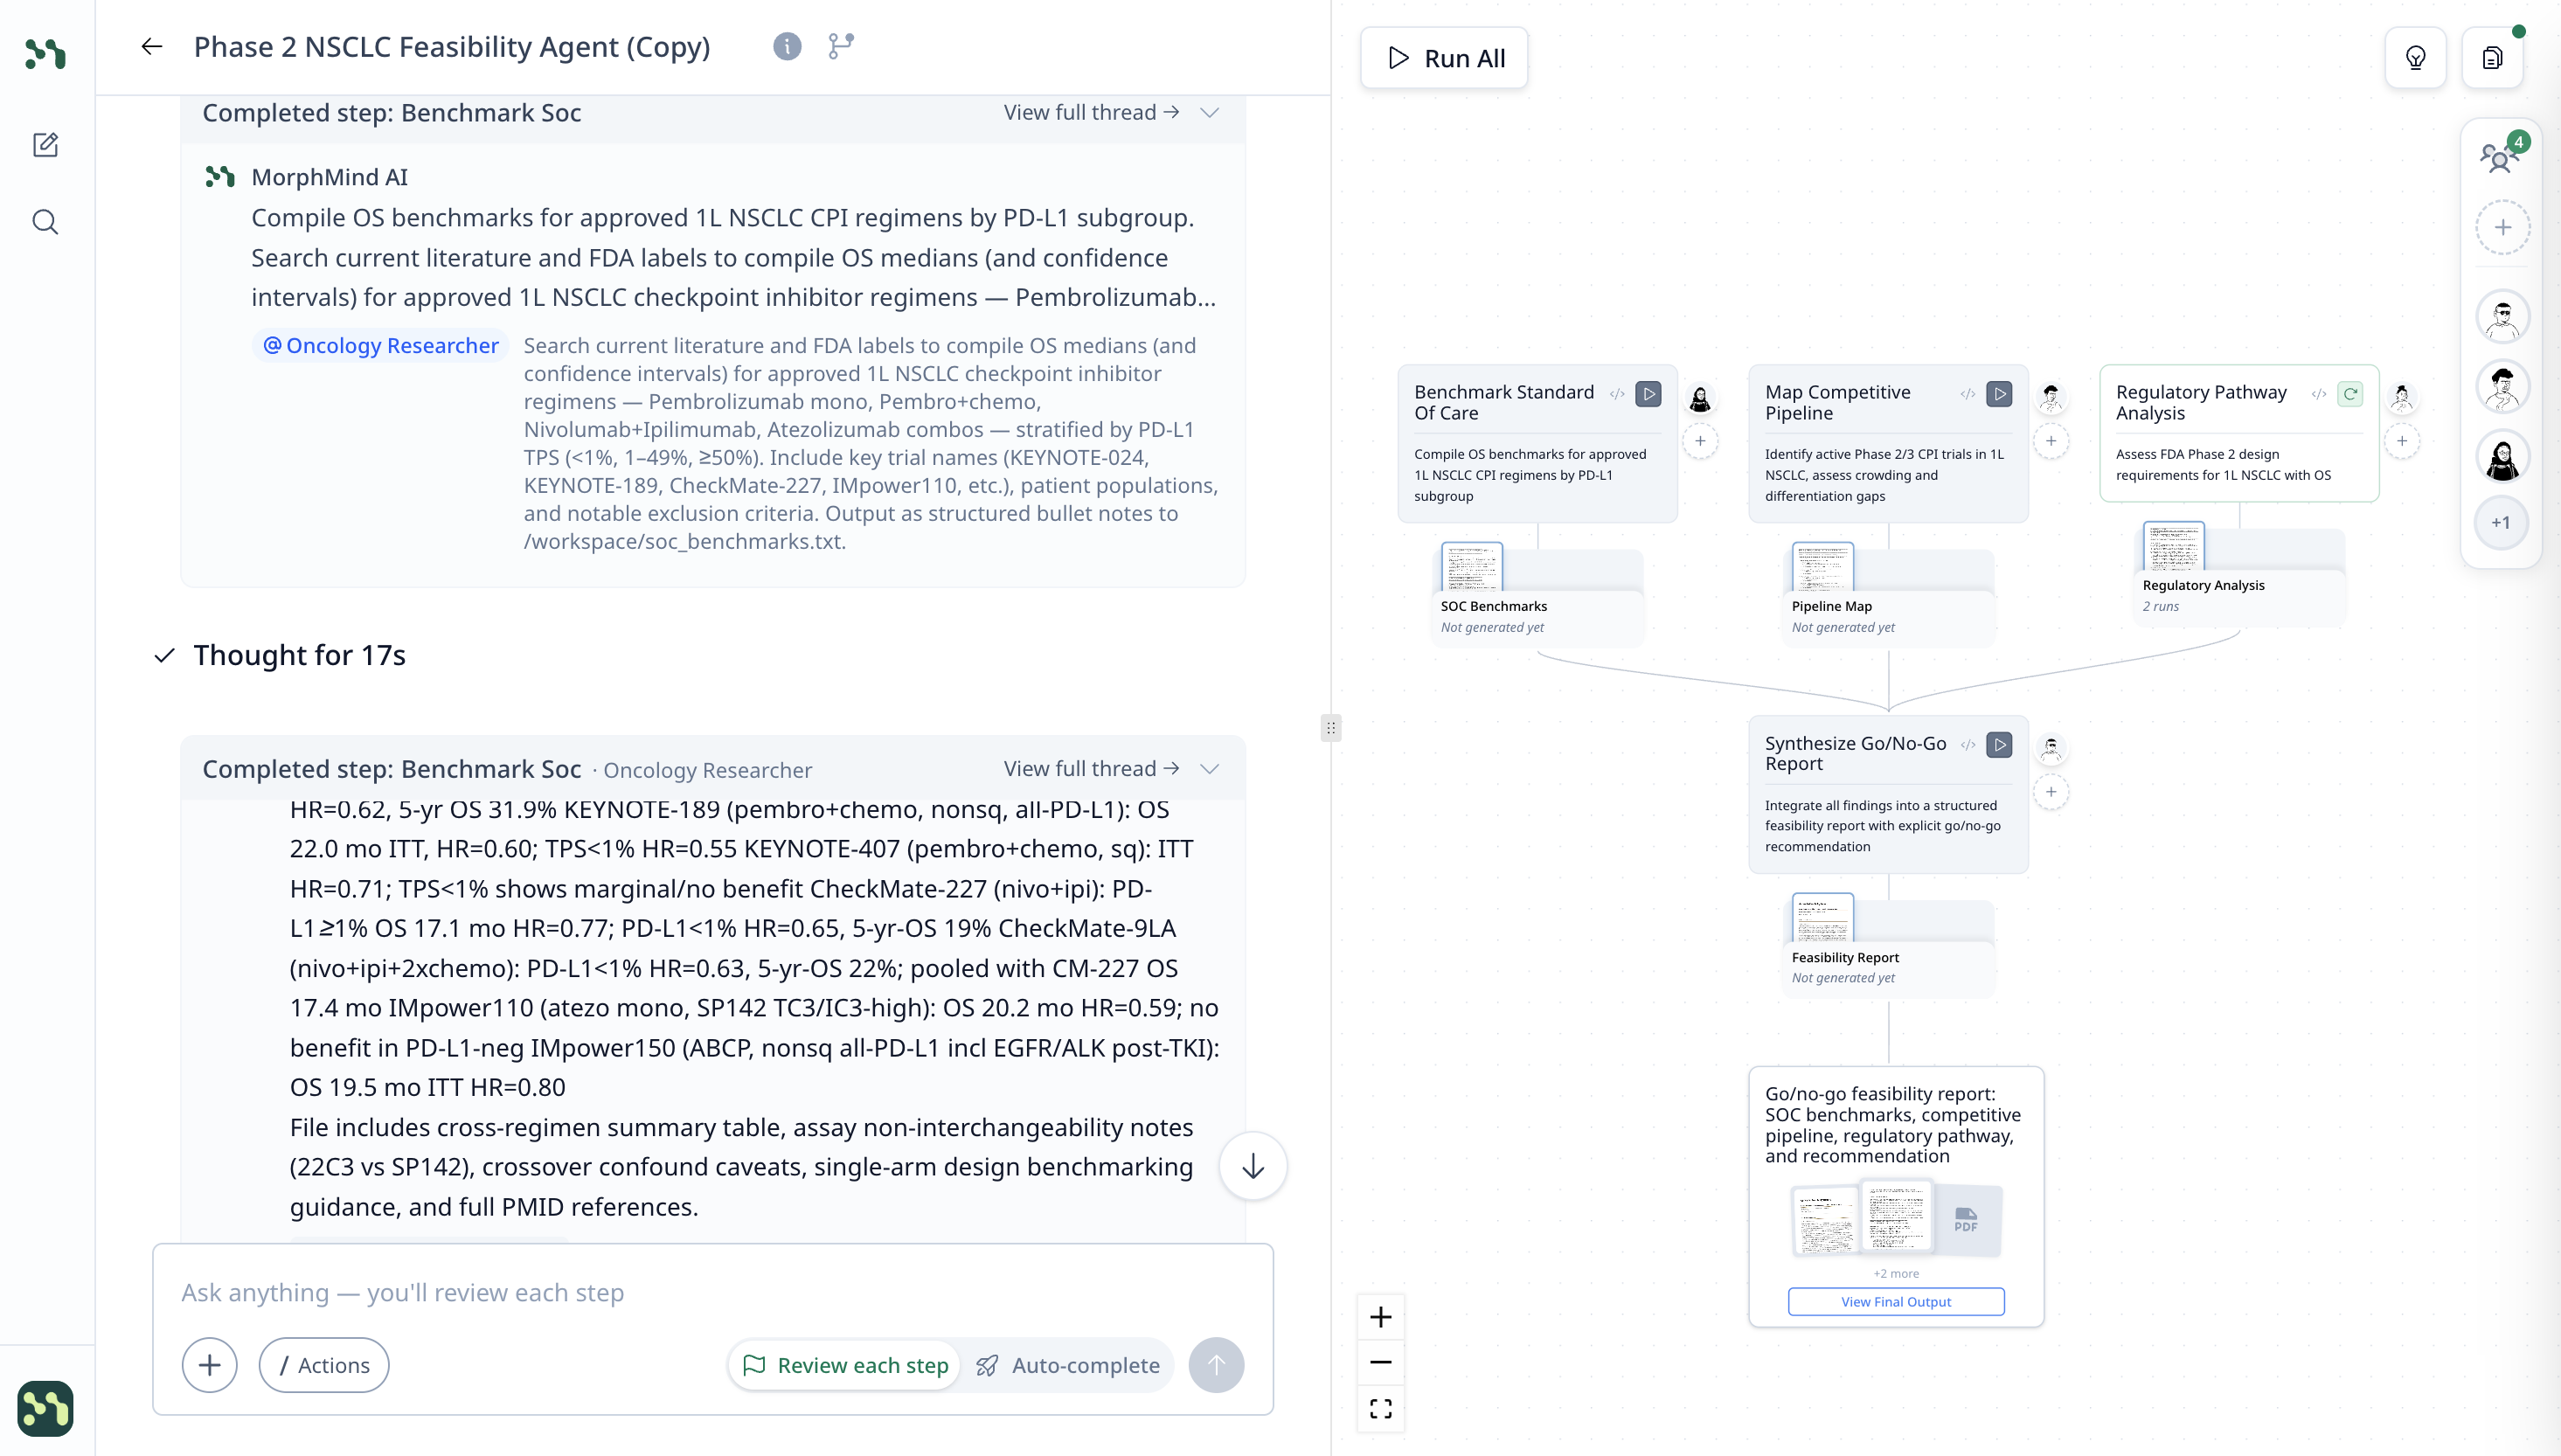
Left panel — Chat & Interact with Specialists: This is where you interact with your specialists. Ask questions, give tasks, and see the specialist's analysis and outputs (tables, scores, insights).
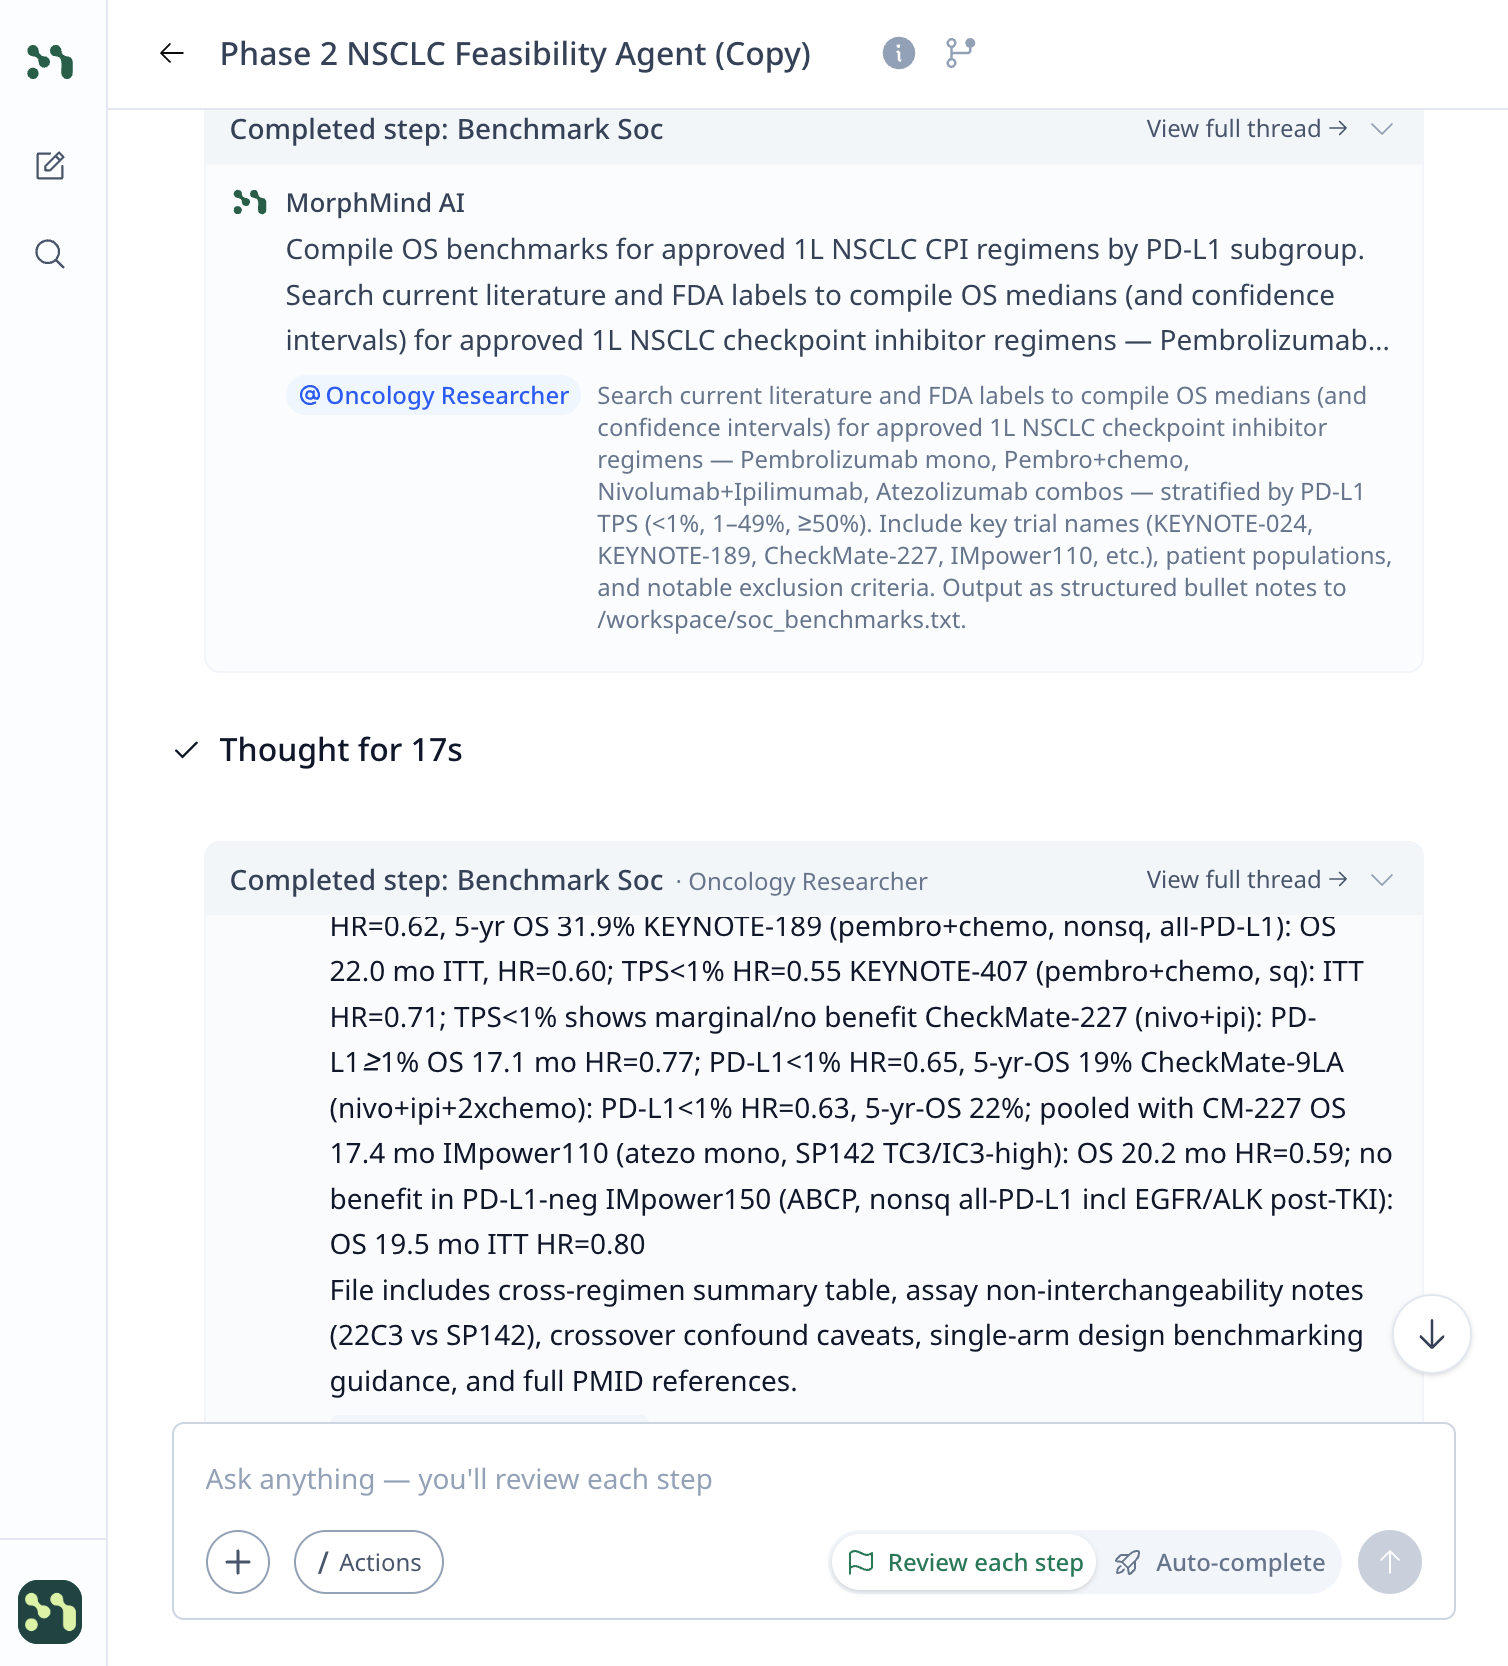
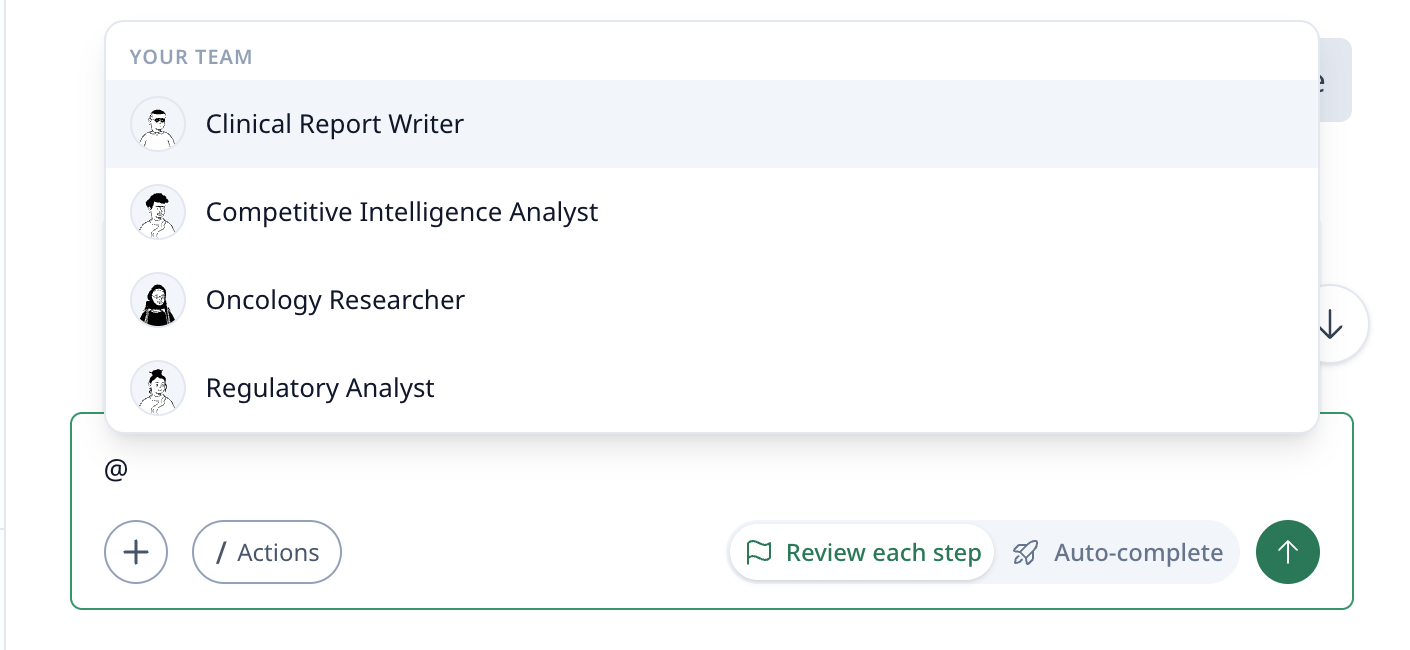
Use / to access quick actions or @ to mention a specialist to work on a task.

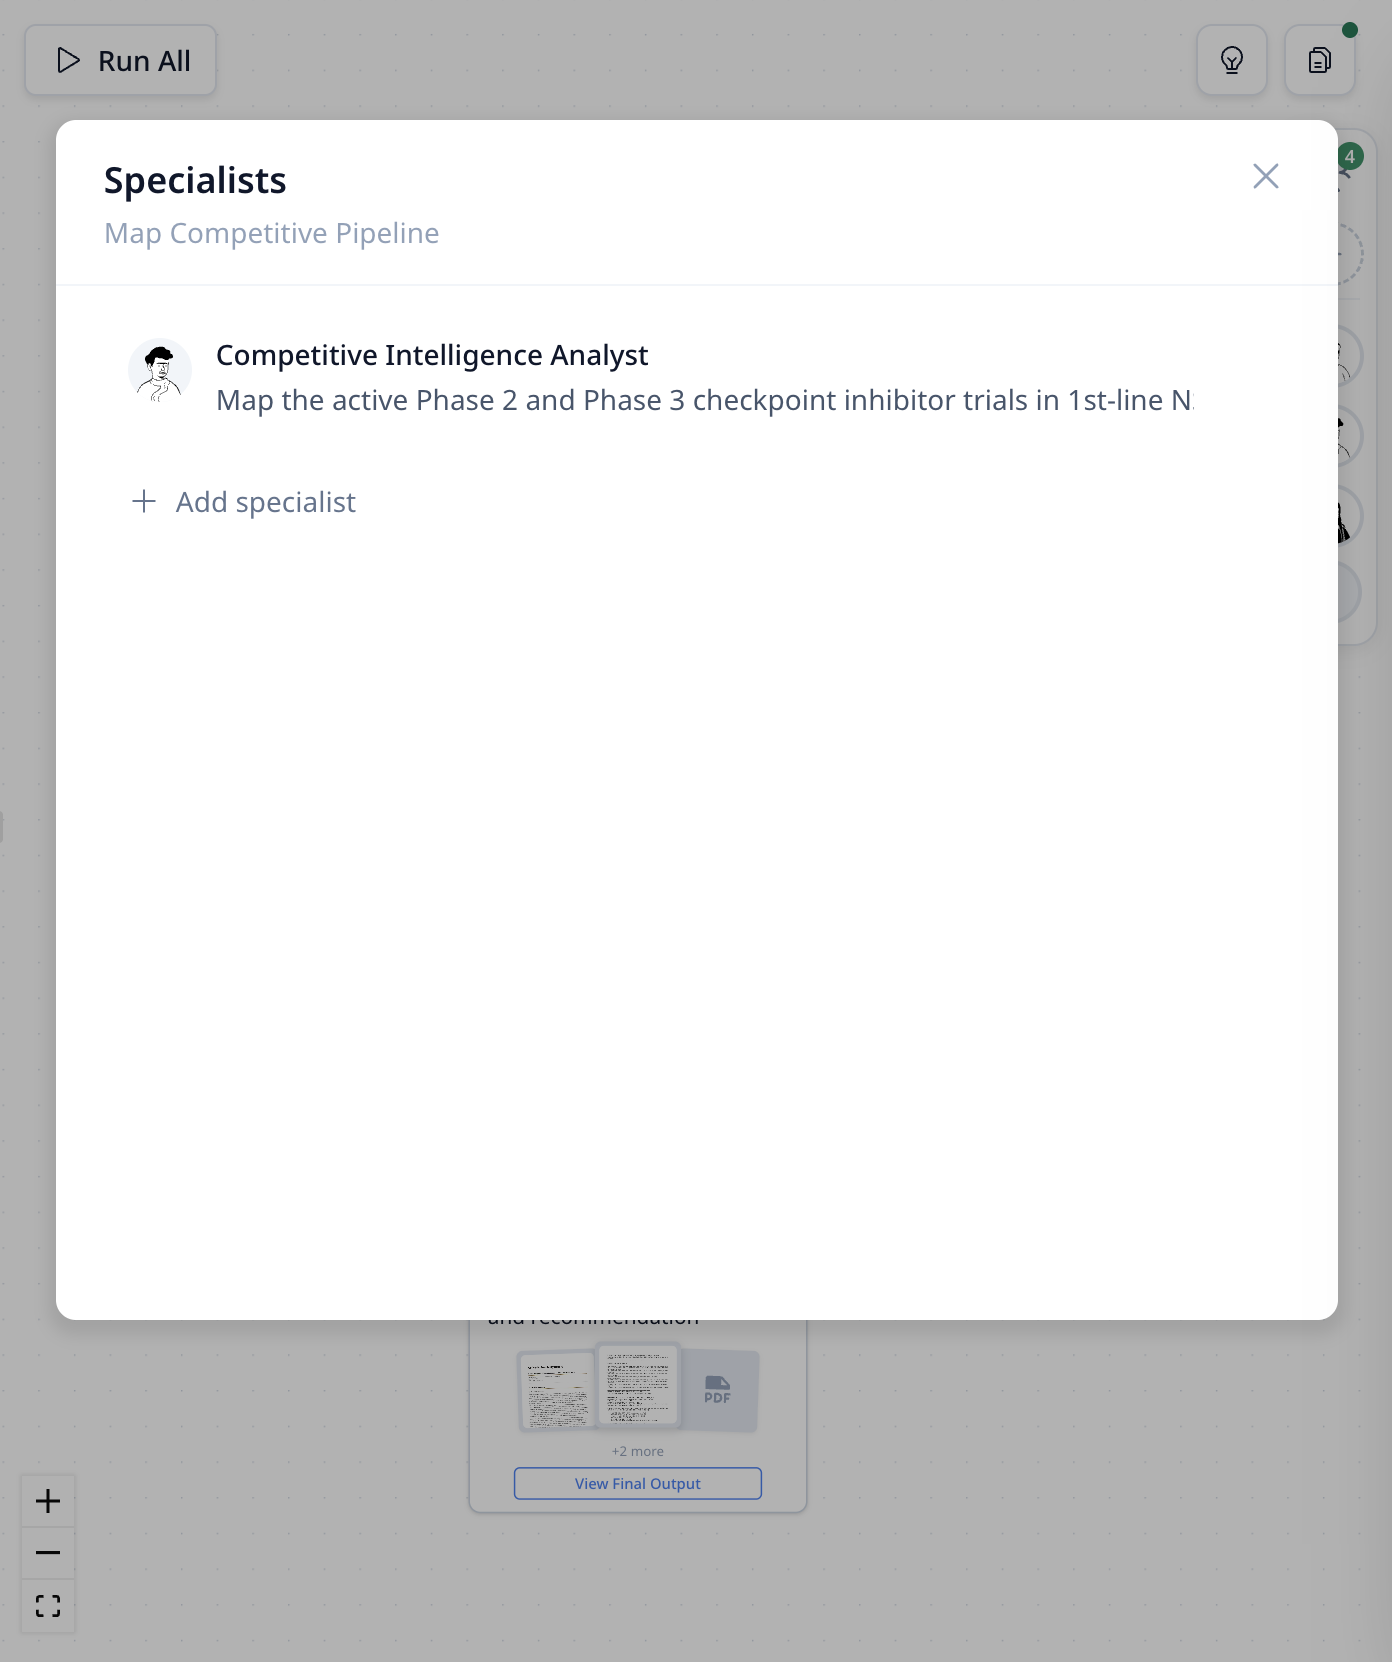
Right panel — Workflow Canvas: See the project workflow as visual steps. Each card is a task the specialist can run—like "Map Competitive Pipeline," "Regulatory Pathway Analysis," or "Synthesize Go/No-Go Report."
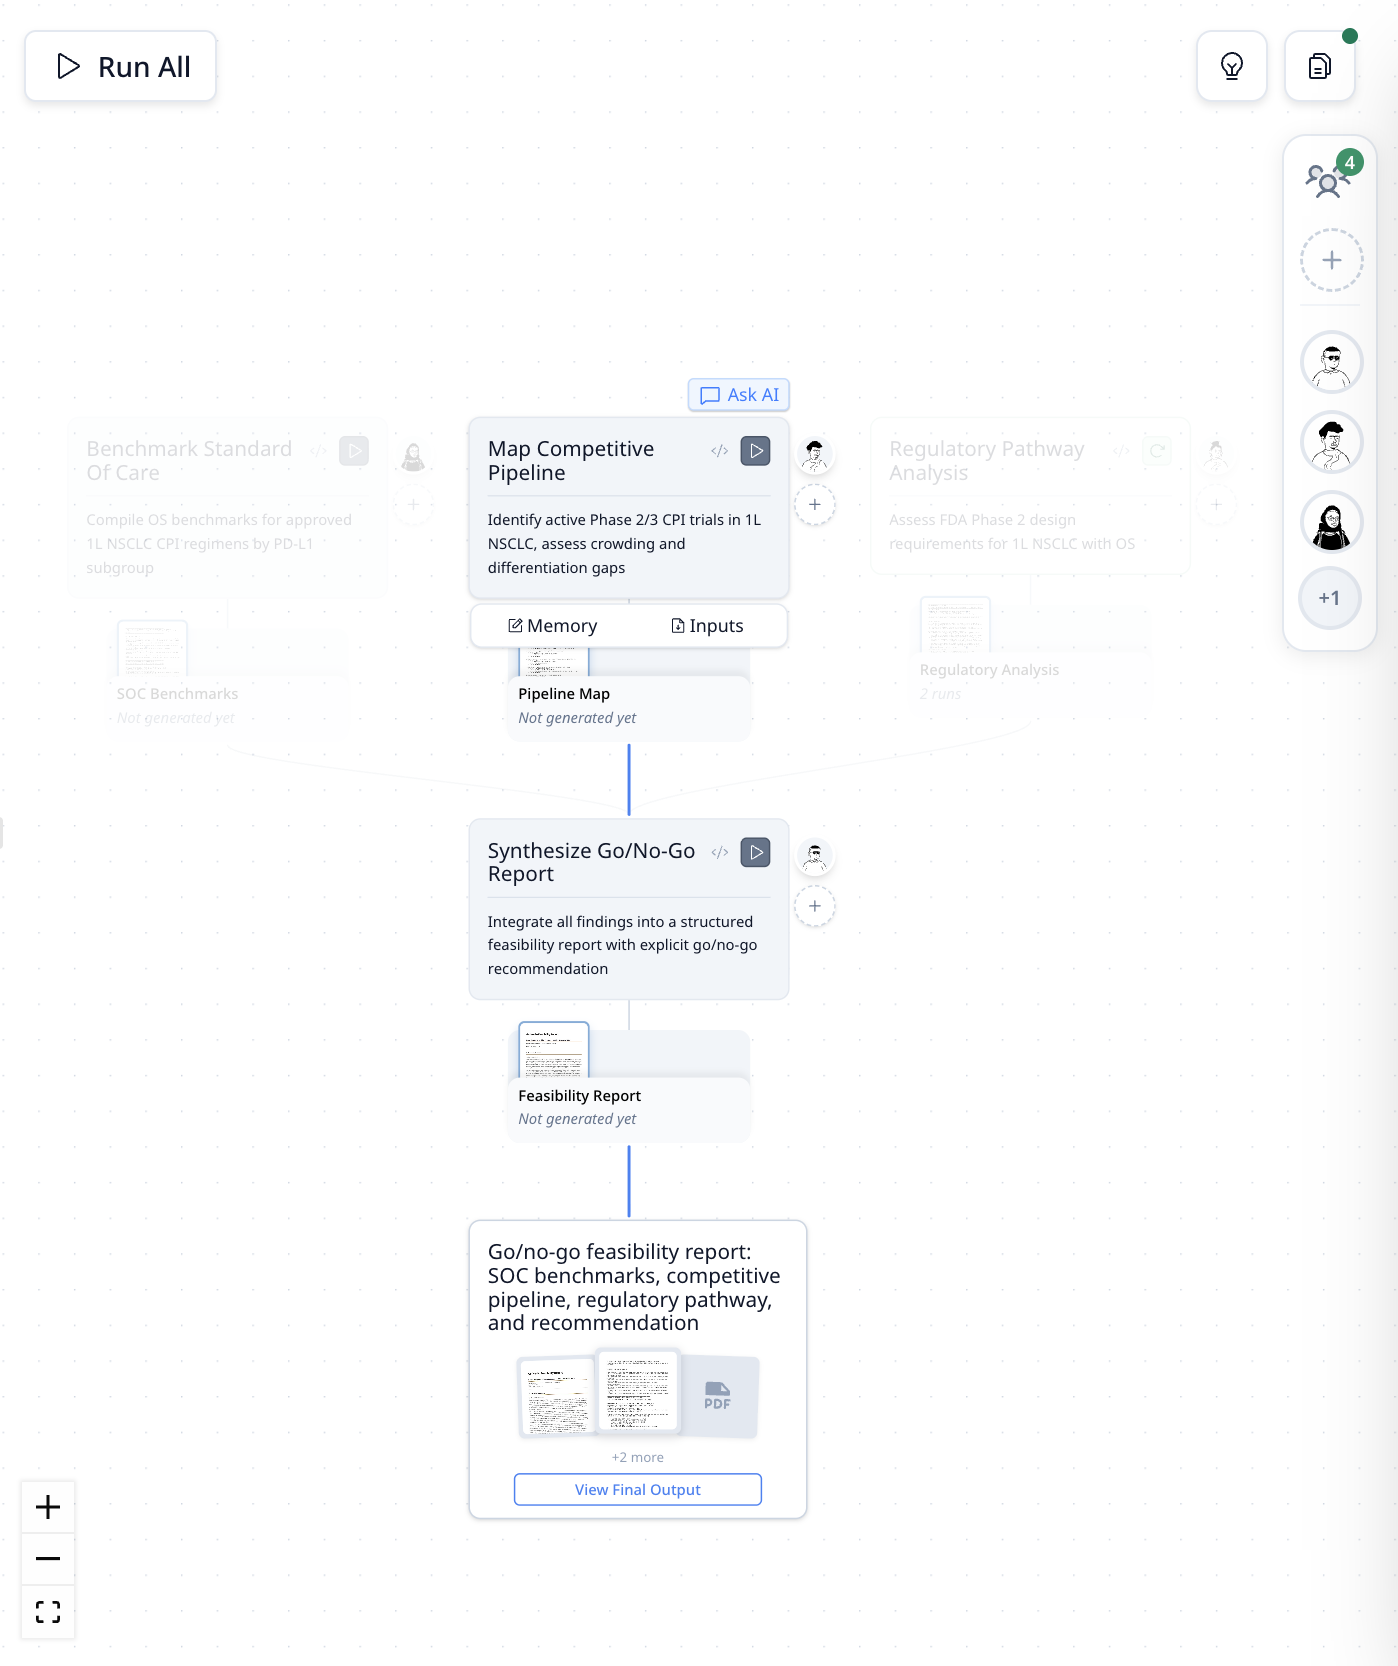
You can assign specialists to each task directly from the canvas by clicking the add button next to each card.

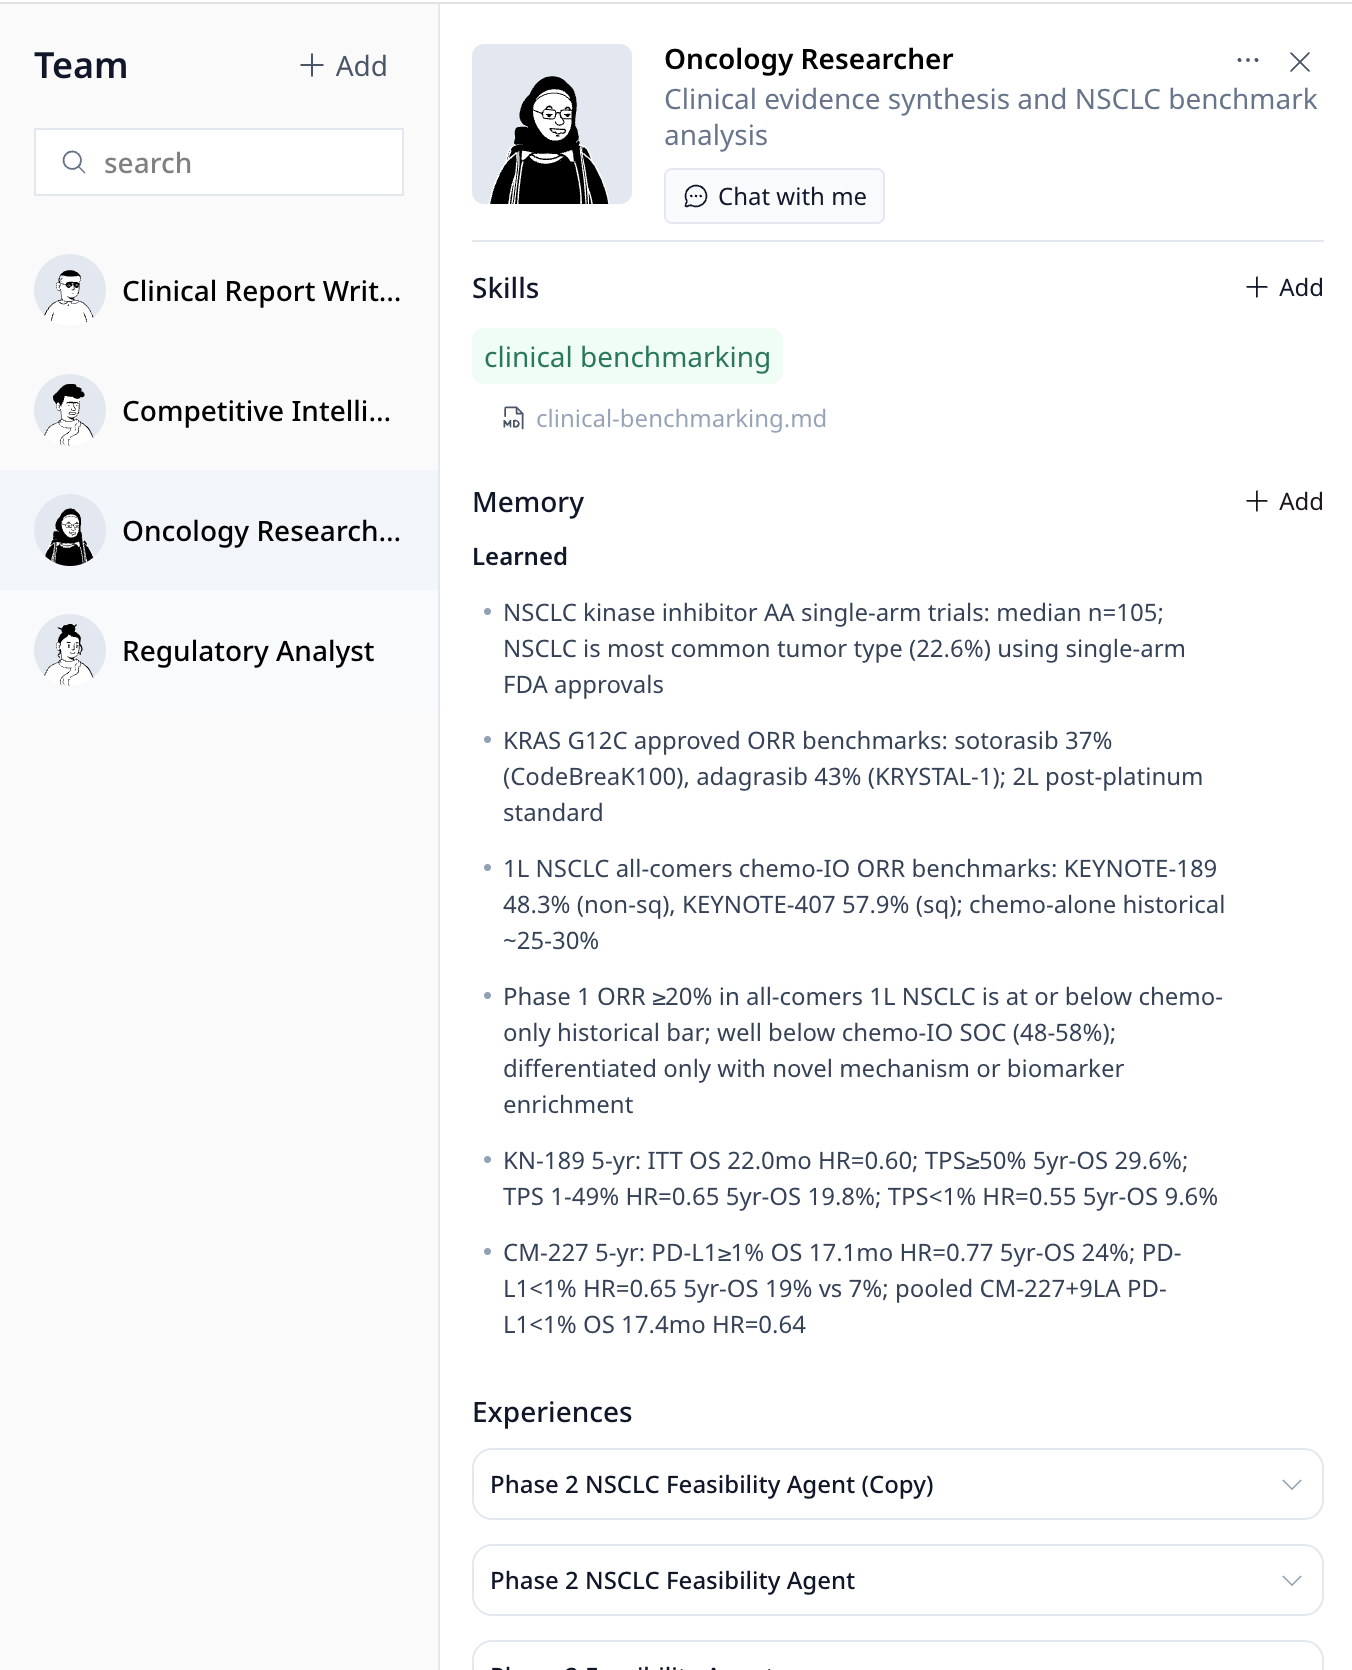
View and edit specialist profiles—skills, memory, and experience—in the Team Management panel.
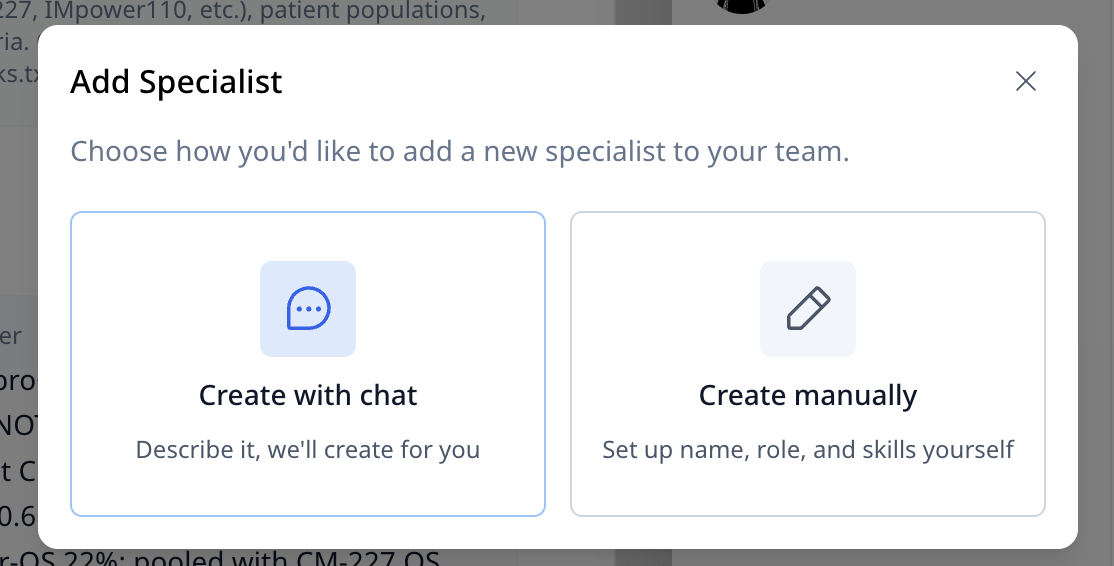
You can also add new specialists through chat or manually when you need fresh expertise for new tasks.
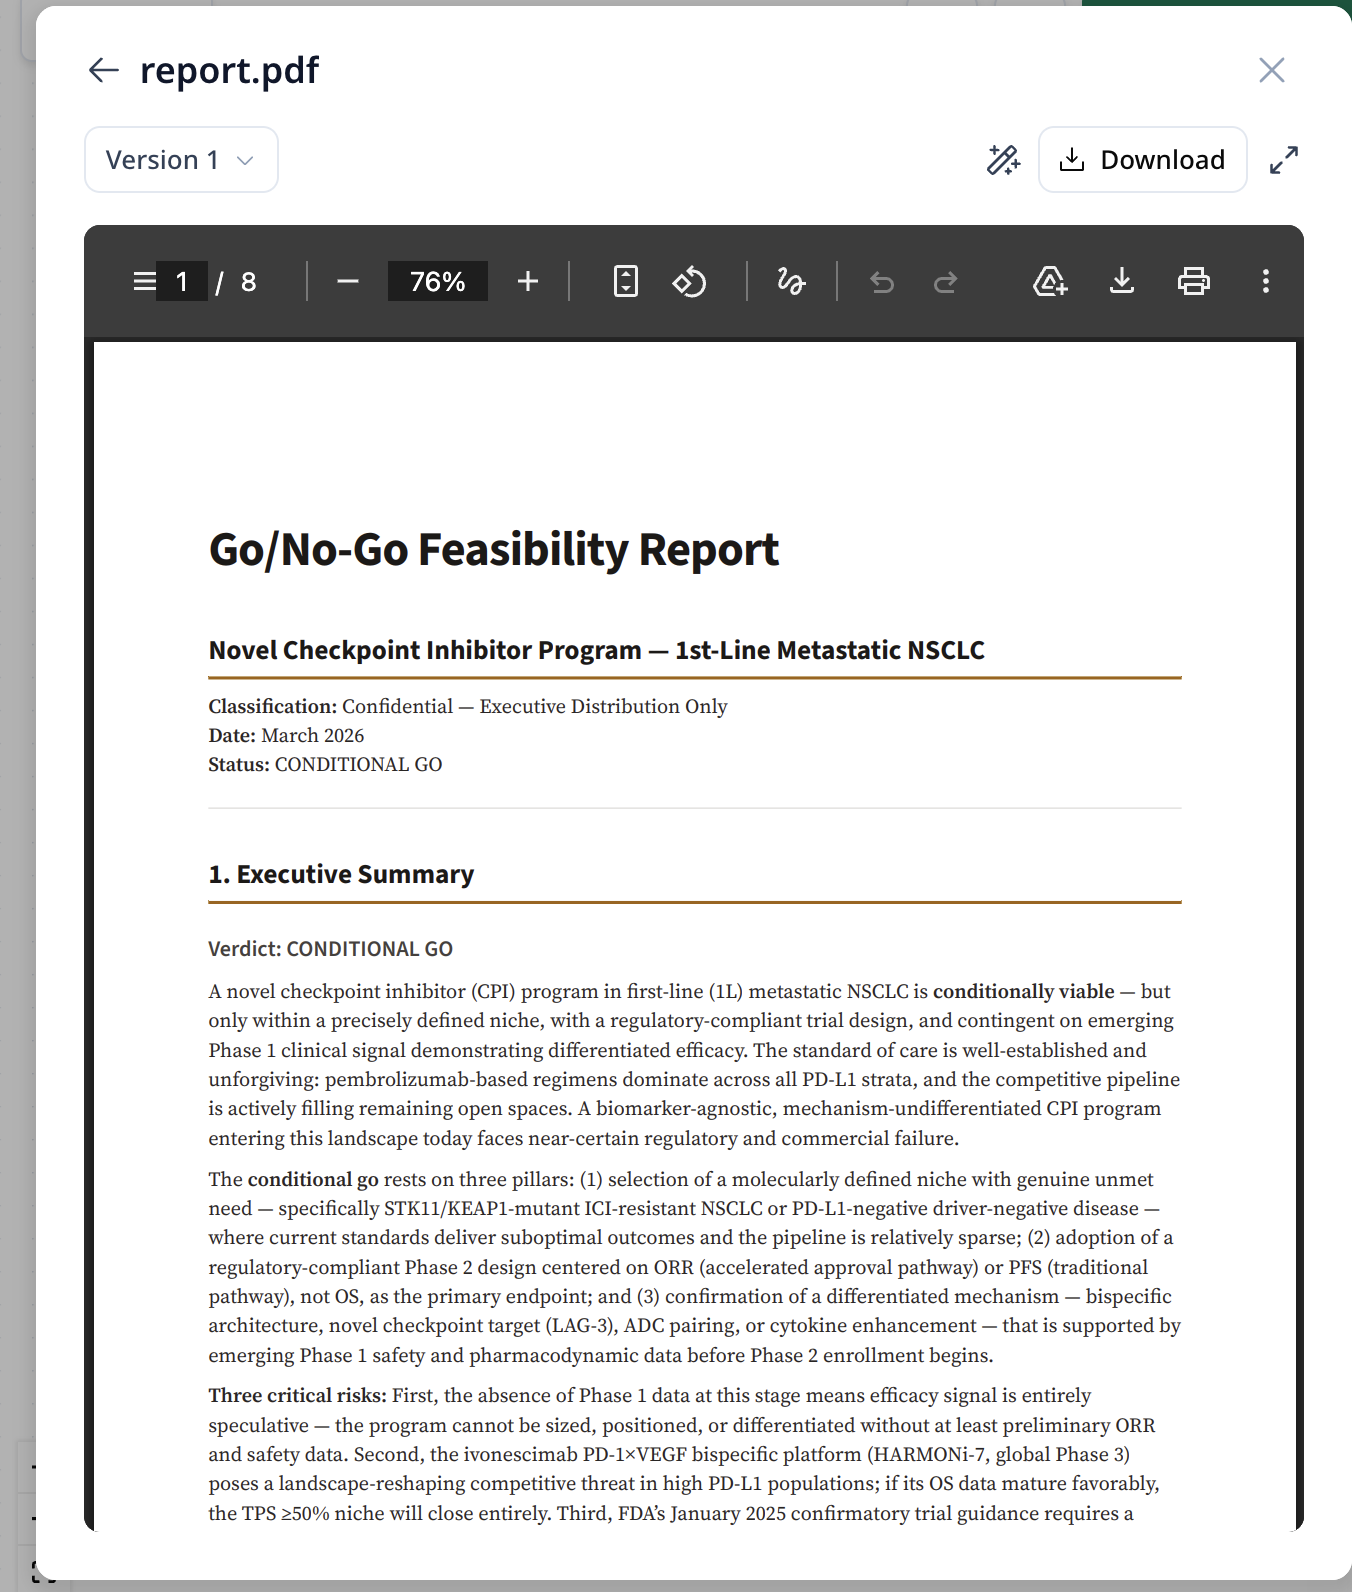
Click the output file below each task to review results.
Left sidebar — Sessions: Your conversation history. Each session is saved so you can pick up where you left off.

Step 3: Run the Workflow
You have two ways to run your agent:

| Mode | How it works | Best for |
|---|---|---|
| Review Each Step | The agent pauses after each task for you to review before moving on | Tasks where you want to check the output at every stage |
| Auto-Complete | The agent runs the workflow automatically without pausing between steps. | Routine tasks you trust the agent to handle |
Start with Review Each Step to understand how your agent thinks, then switch to Auto-Complete once you're confident.
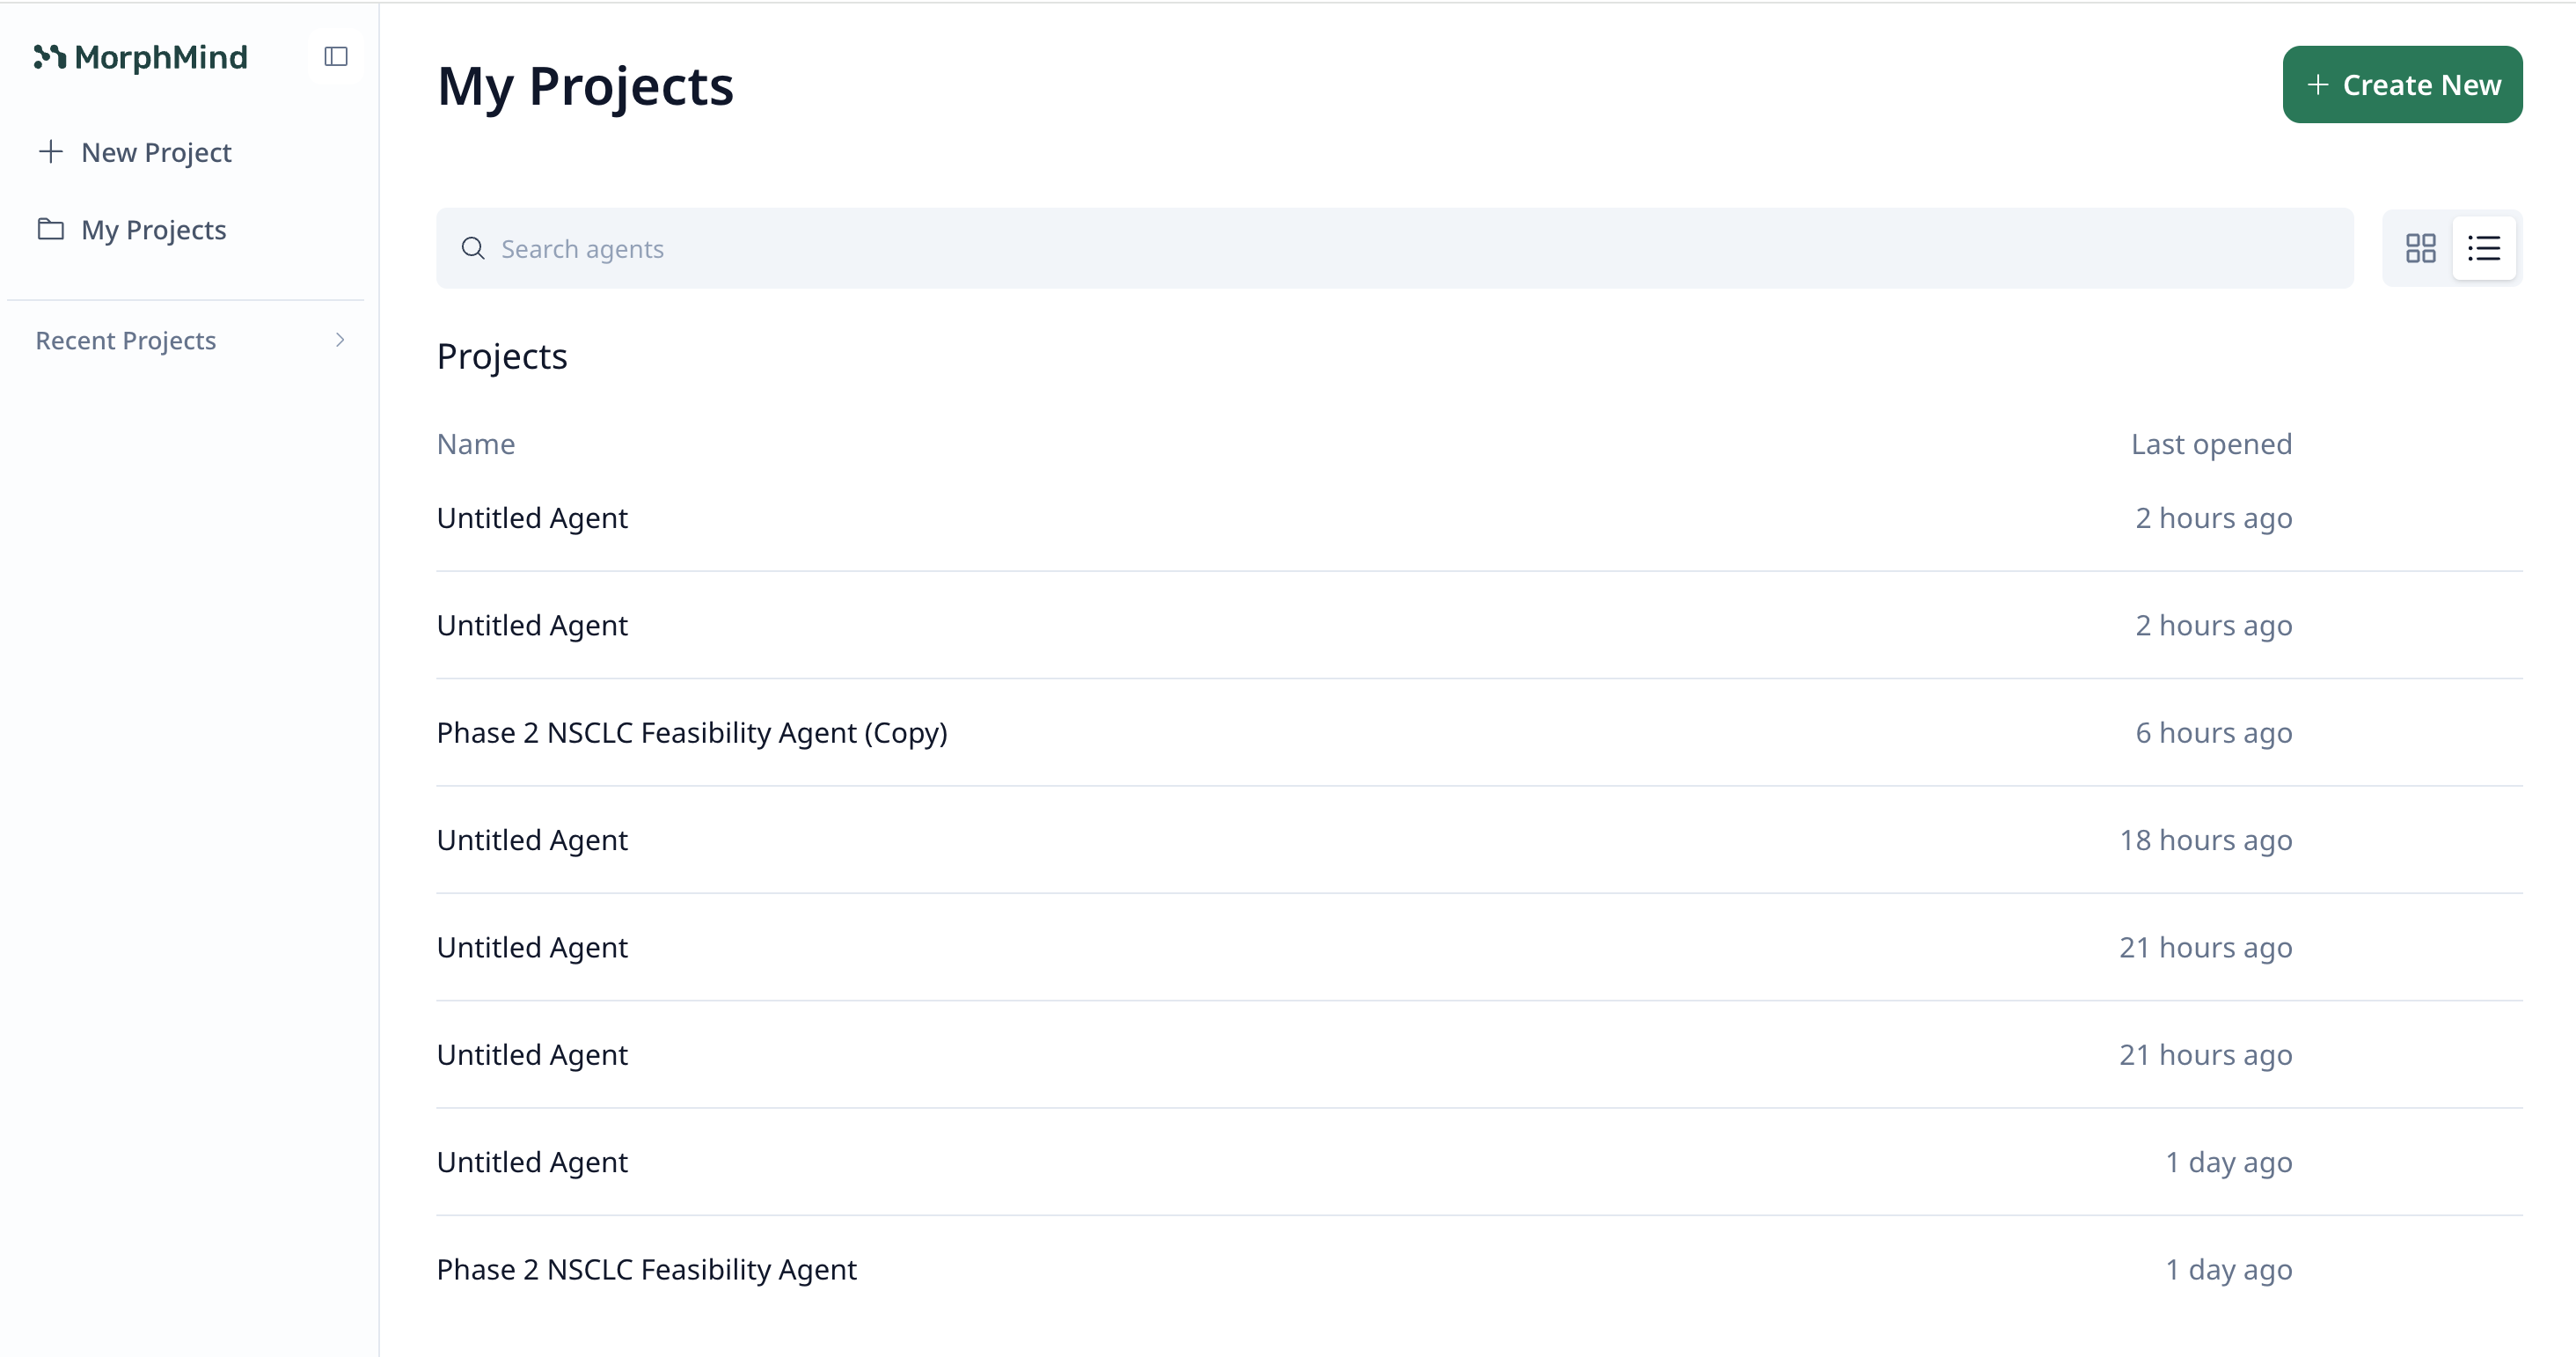
Step 4: View All Projects
You can always go to My Projects to view all your agents in one place.
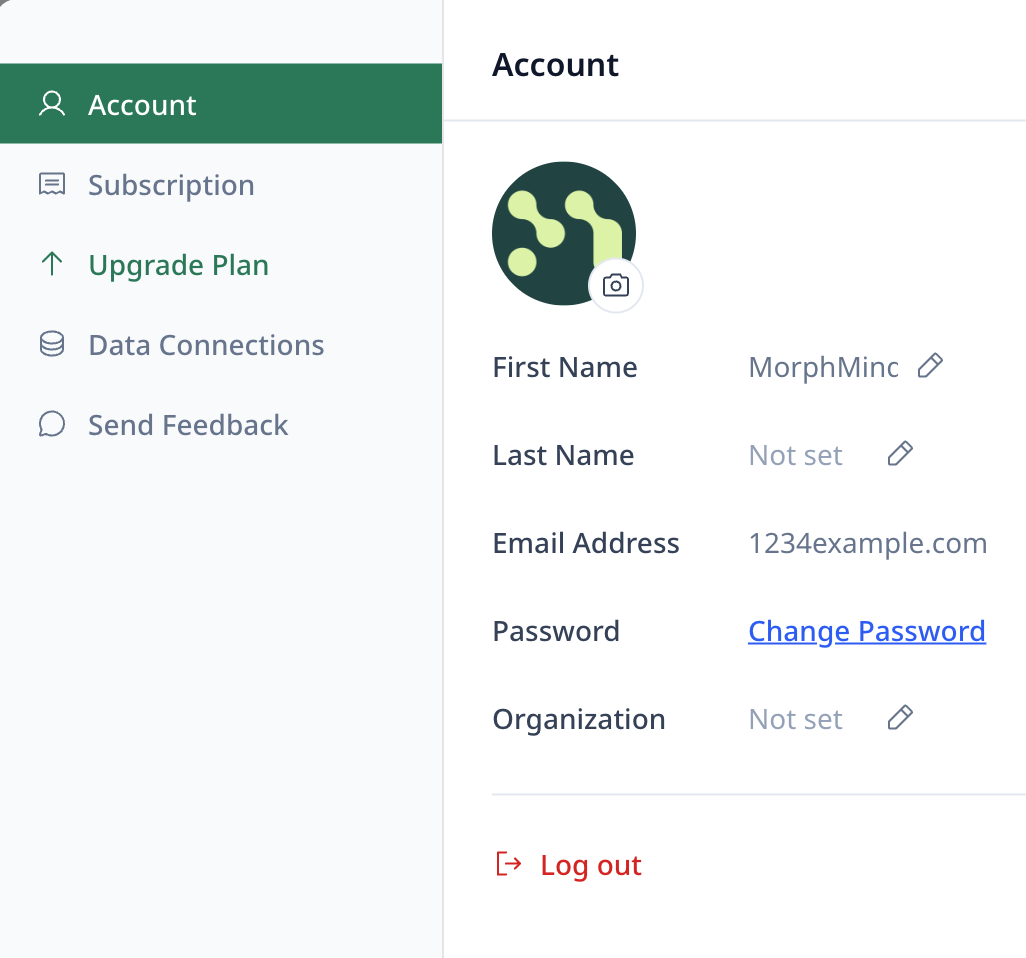
Step 5: Manage Your Account
Click your profile to access Settings, where you can manage your account, data connections, and upgrade your plan.
What's Next?
- Learn the fundamentals — Read What is an AI Agent? to understand how agents work
- Get help — Check the FAQ for common questions